How to Remove Old Tiles

Okay, it’s official. You’re sick and tired of your old, outdated wall or floor tiles and it’s time to remove them.
After all, there are hundreds of new and exciting tile styles out there to give your bathroom, kitchen, or living space a well-deserved makeover.
First things first, and you’re going to love it. It’s time to get those tired old tiles off the wall or floor.
In this blog, we’re going to show you step-by-step how to remove old tiles.
Let’s Work Smart and Safe
The moment you start hammering away at those pesky old tiles, pieces of porcelain and ceramic will start flying off in all directions.
To avoid any nasty injuries, it’s important to protect yourself. We recommend that you use safety goggles and gloves to protect your eyes and hands.
Also, it’s worth protecting your arms by wearing a long-sleeved top or jumper.
Protect Your White Goods
Just because the old tiles are ‘out!’ it doesn’t mean the things around it aren’t worth protecting, right?
When you’ve got tiles falling from a wall or large pieces pinging off it’s important to make sure your bath, shower tray, cooker, sideboard, or sink don’t get scratched.
Time to cover them up.
There are a few options here. Grab some old cardboard from the green bin as this works well when flattened (Quick! Before the refuse collectors, come and take it away).
Also, a decorators dust sheet or an old sheet you have lying around is good too.
The Correct Tools Make Light Work
The good news is that you won’t need any special tools for this job. In fact, you probably have them already.
You’ll need:
- A thin chisel
- A hammer
Don’t have a chisel? A large, flat head screwdriver will work!
Removing the First Tile

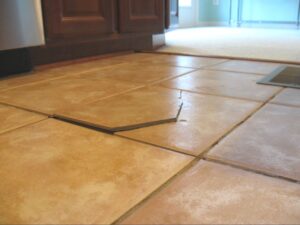
No cracked tiles? Take the hammer and gently hit the corners of each tile. What we’re looking for here is a loose one.
If your tiles are proving to be a stubborn old beast, then you’ll have to break one.
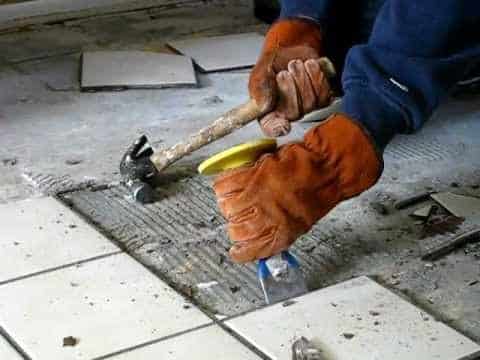
Place the chisel in the centre of one tile and hit it with the hammer. Once shattered, just remove the individual pieces.
On with the Remaining Tiles
Once one tile has been removed, you’ll have easy access to the ones that are remaining.
Get the chisel against the wall or floor with the point in behind the tile and gently tap with a hammer.
Next, pull the chisel towards you to prise the tile away from the wall or floor.
Tidy Up Your Old Tiles
With all the tiles off the wall or floor, it’s time to get as much adhesive off as possible. This should come away fairly easily with a hammer and chisel.
Pick up all the broken bits of tile and put them in something that won’t rip – we find a heavy-duty garden sack or a cardboard box will work well.
Use a dustpan and brush for the small pieces and get everything up the tip or out with the next rubbish collection.
If you’re left with whole tiles and don’t want them to go to waste, then why not do something creative. Here’s a blog on 13 ways to use your leftover tiles.
Blank Canvas
You’re now ready for your next masterpiece. If you haven’t decided on what types of tiles you want, then browse our huge selections of tile styles with fast delivery options.

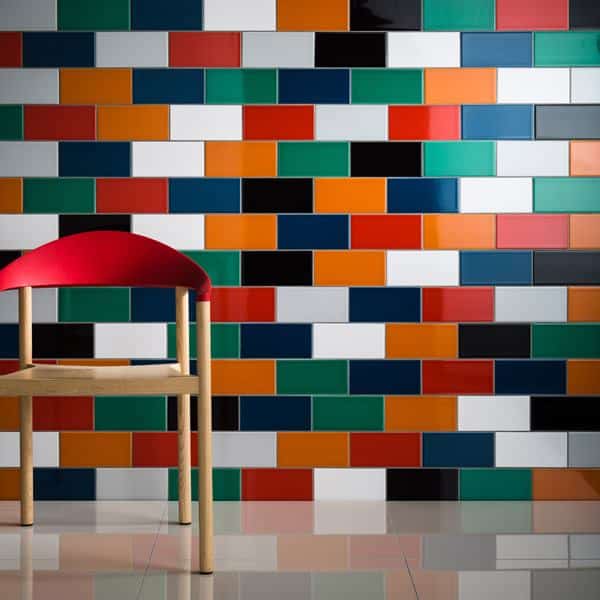
Pardon, “what are those tiles in the photo?” This is our Prismatics Collection which can be found on our website.
Related Content:
Recent Posts
Why Choose Us?
- Free Delivery over £249*
- Free Sample Delivery*
- 10,000 Square Meters in Stock


